I am the head cook for the Trimaris party at Gulf Wars, which is in a couple weeks. Less than a couple weeks, now. The theme of the party is Viking, and I chose 9th century Birka as the symbolic “location” for the party. As much as my budget and equipment will allow, all the food at the party will be appropriate to 9th century Birka.
Cooking meat in pits was a common cooking method in the Viking cultures, with multiple pits found in many sites. There is also a good description of technique in An Early Meal. There are two main methods- fire on top of rocks at the bottom of the pit, or rocks on top of fire at the bottom of the pit. I decided to test the rocks on top of the fire method using two 10-pound fresh hams, thinking that using thick, dense cuts of meat with bone would give the best practice. I live in Florida, and the sandy soil here is very similar to the sandy soil at the Gulf Wars site in southern Mississippi.
Most sites on pit-cooking pigs agree that 100 pound pig should take 8-10 hours. So I figured that 20 pounds, 1/5th of that weight, would take 1/5th of the time. I added an extra hour into my schedule just in case. I had purchased a remote barbecue thermometer so I could monitor the internal temperature of the pig during the cooking process. I also purchased a roll of burlap and large canvas tarp to lay over the meat to help seal the pit and protect the meat from sand.
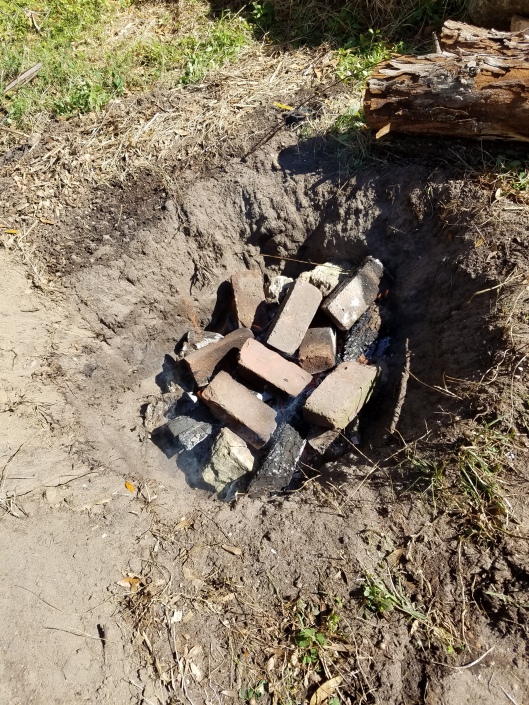
I had my kids dig a 3’x3’x3′ pit in our back yard. It took me over an hour to start a decent fire because the sides of the pit kept collapsing in and burying the fire. I ended up having to rake the sides out to increase the angle of the walls. I built a fire that filled the pit and as soon as it really was white-hot at the bottom, I started tossing rocks in to heat. I used coquina rocks around the edges and bricks in the middle. Soon I was very glad that I only used coquina around the edges, as the coquina rocks soon started cracking and popping, sending small shards of hot rock flying in all directions. The bricks did not crack. I let the rocks and bricks heat and the fire burn down for an hour, then it was time to add the hams.
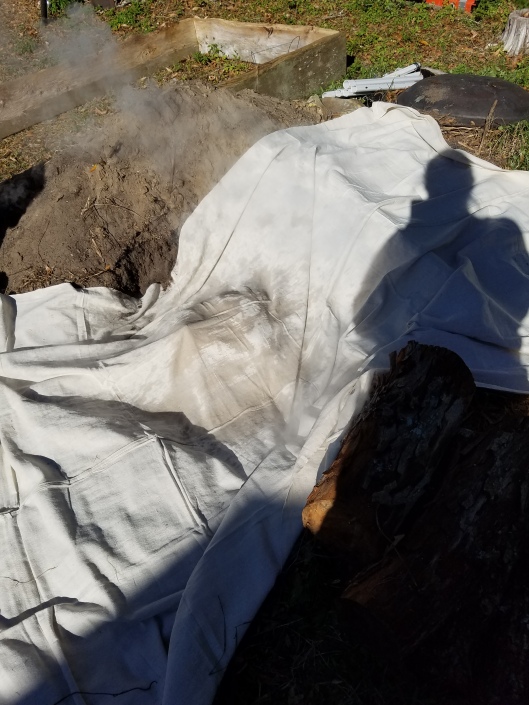
Instead of the chicken wire method used by many sites, I purchased a sturdy barbecue grill grate with handles, knowing that I would reuse it afterwards. I covered the grate with green onions and then laid the hams on the onions. We quickly lowered the ham onto the bricks, covered the whole thing with burlap, poured a gallon of water around and over the burlap to create steam, spread the canvas over the whole thing. You can see the steam rising through the canvas.
Then my boys took shovels and buried the whole thing.
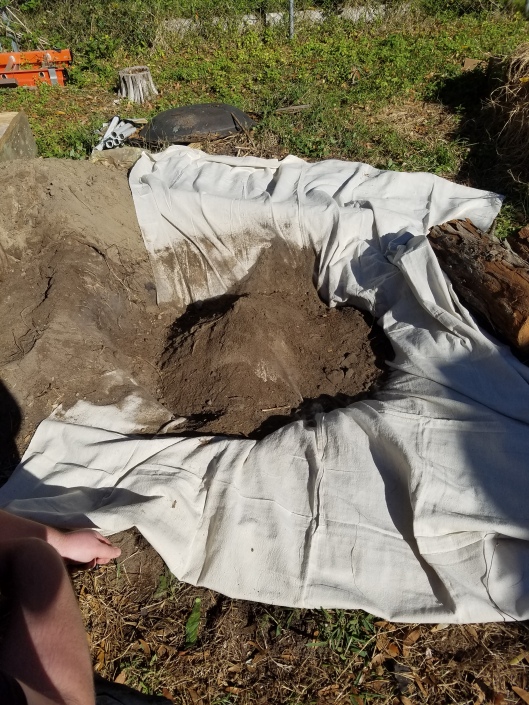
We filled in the sand until we could see no more steam rising. The idea is to seal the pit so the heat and steam stays inside and cooks the meat. At first the temperature climbed quickly, but after three hours was only 135 and only climbed 15 degrees in the next hour. The interior temperature was 153 when we pulled it out of the pit after 4 hours and 14 minutes, cooked on the outside but bloody around the bone.
First mistake- not enough fire or not enough rocks. There just wasn’t enough heat to penetrate the meat. The fire for the whole pig will have to be very large. I’m going to bring as many bricks as I can and then hope that people bring me enough rocks to make up the difference.
Second mistake- Pouring in the water. My main source for technique recommended pouring three gallons of water around the fire to create steam, so I poured one gallon of water. In retrospect the water killed too much heat.
Third mistake- Getting the math wrong. I figured that if 100 pounds took 10 hours, then 1/5th should take 2 hours. Wrong, so wrong. It’s not the total weight of the meat, it’s the density, the thickness to the middle.
Fourth mistake- Not covering the top of the meat. One layer of burlap plus one layer of canvas may keep out clay soil but it doesn’t keep out all of the sand. I need to cover the top of the meat to protect it from the sand, something that I can scrape or pull off. Apparently the Vikings in some places used birch bark. I will probably use cabbage leaves since banana leaves would be inappropriate.
After this test I feel much more confident about cooking the pig at War. Bring on the party!


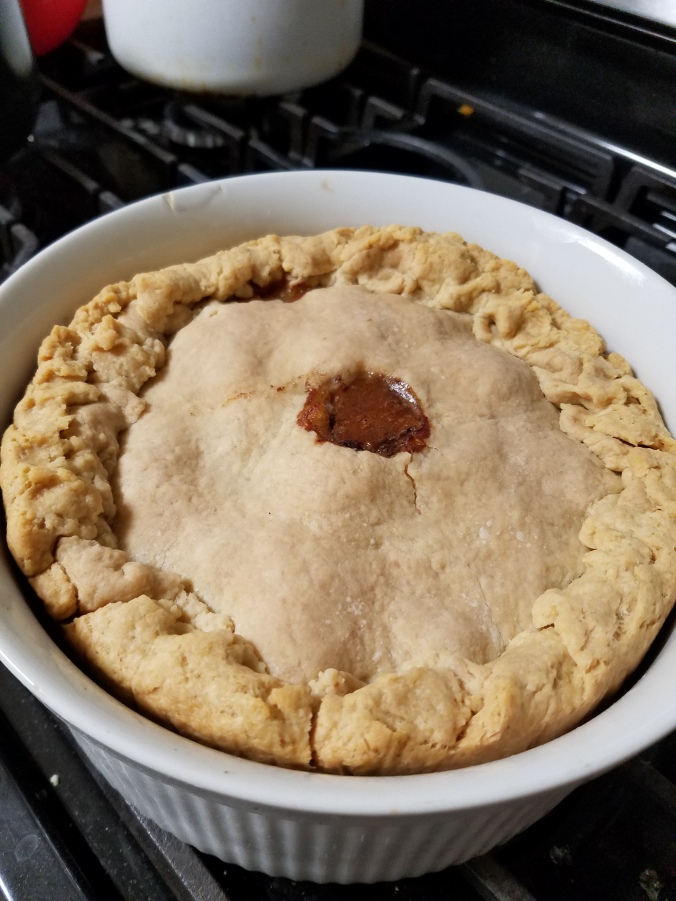 From Le Menagier de Paris:
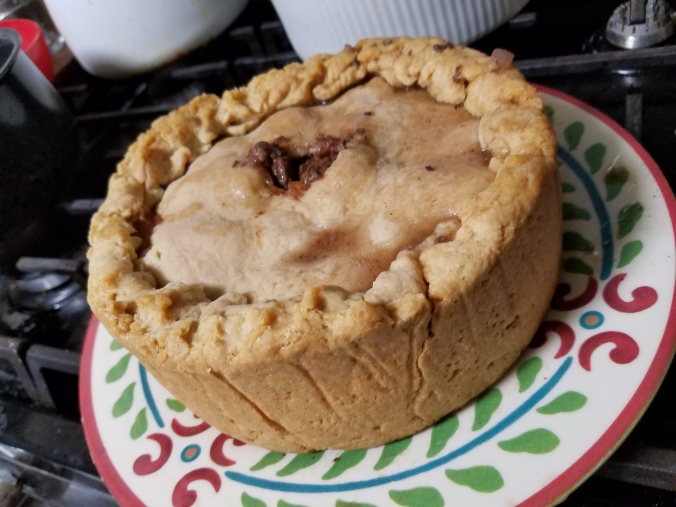
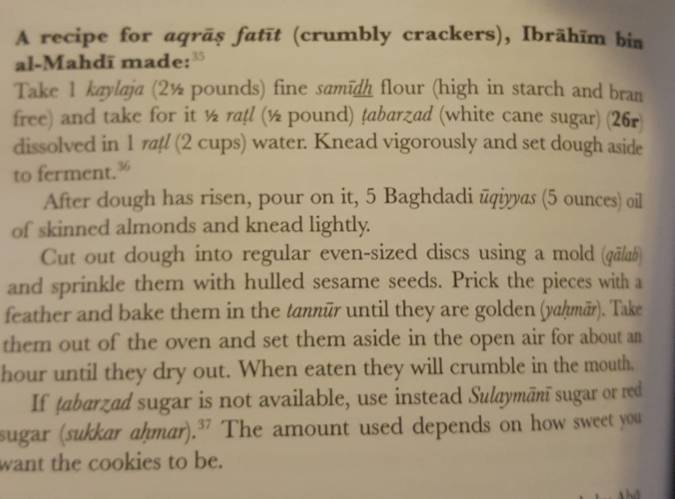
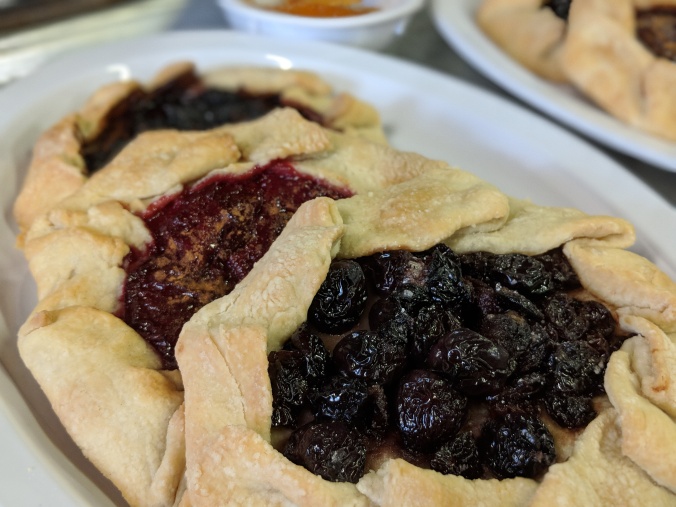
 Recently a friend was elevated to the Order of the Laurel. His persona is from the 11th century Sultanate of Rum, in modern-day Anatolia/Turkey. The closest published manuscript we could find for recipes for his elevation party was from al-Warraq, recently published as Annals of the Caliph’s Kitchens. I love this manuscript after having done a seven-course feast out of it just a few years ago, and I was excited to cook out of it some more. I chose an eggplant salad/dip and a variety of aqras, the ubiquitous baked pastries of the medieval Arab world.
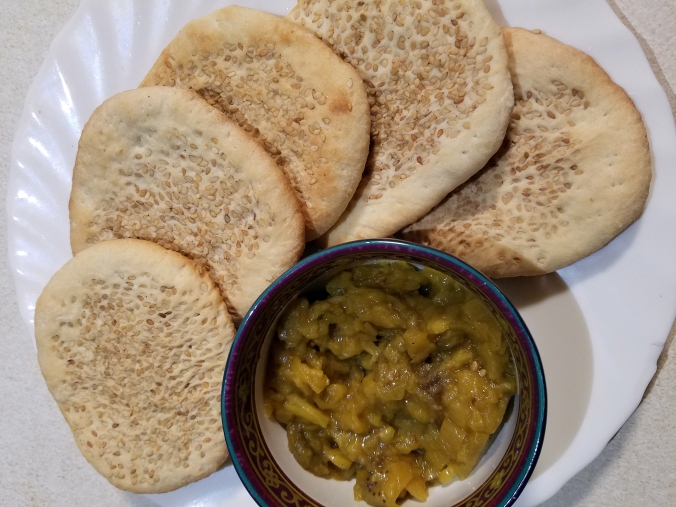
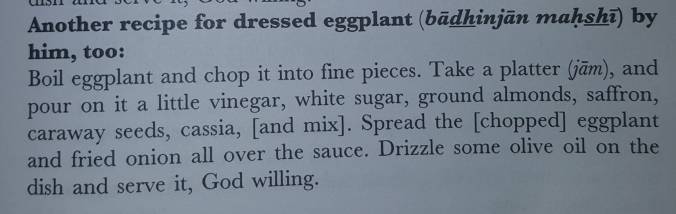 Badhinjan Mahshi
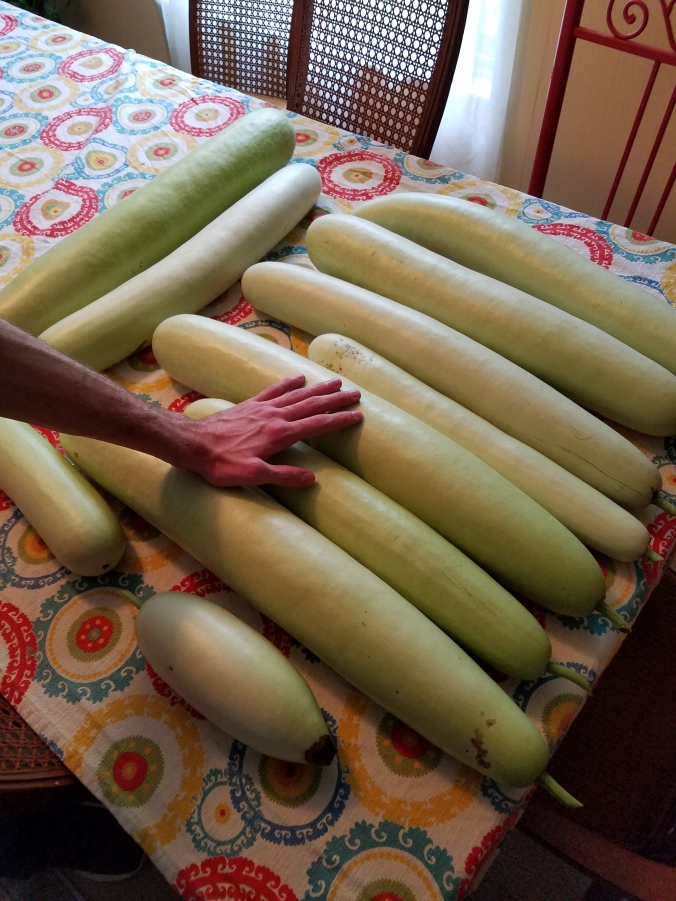